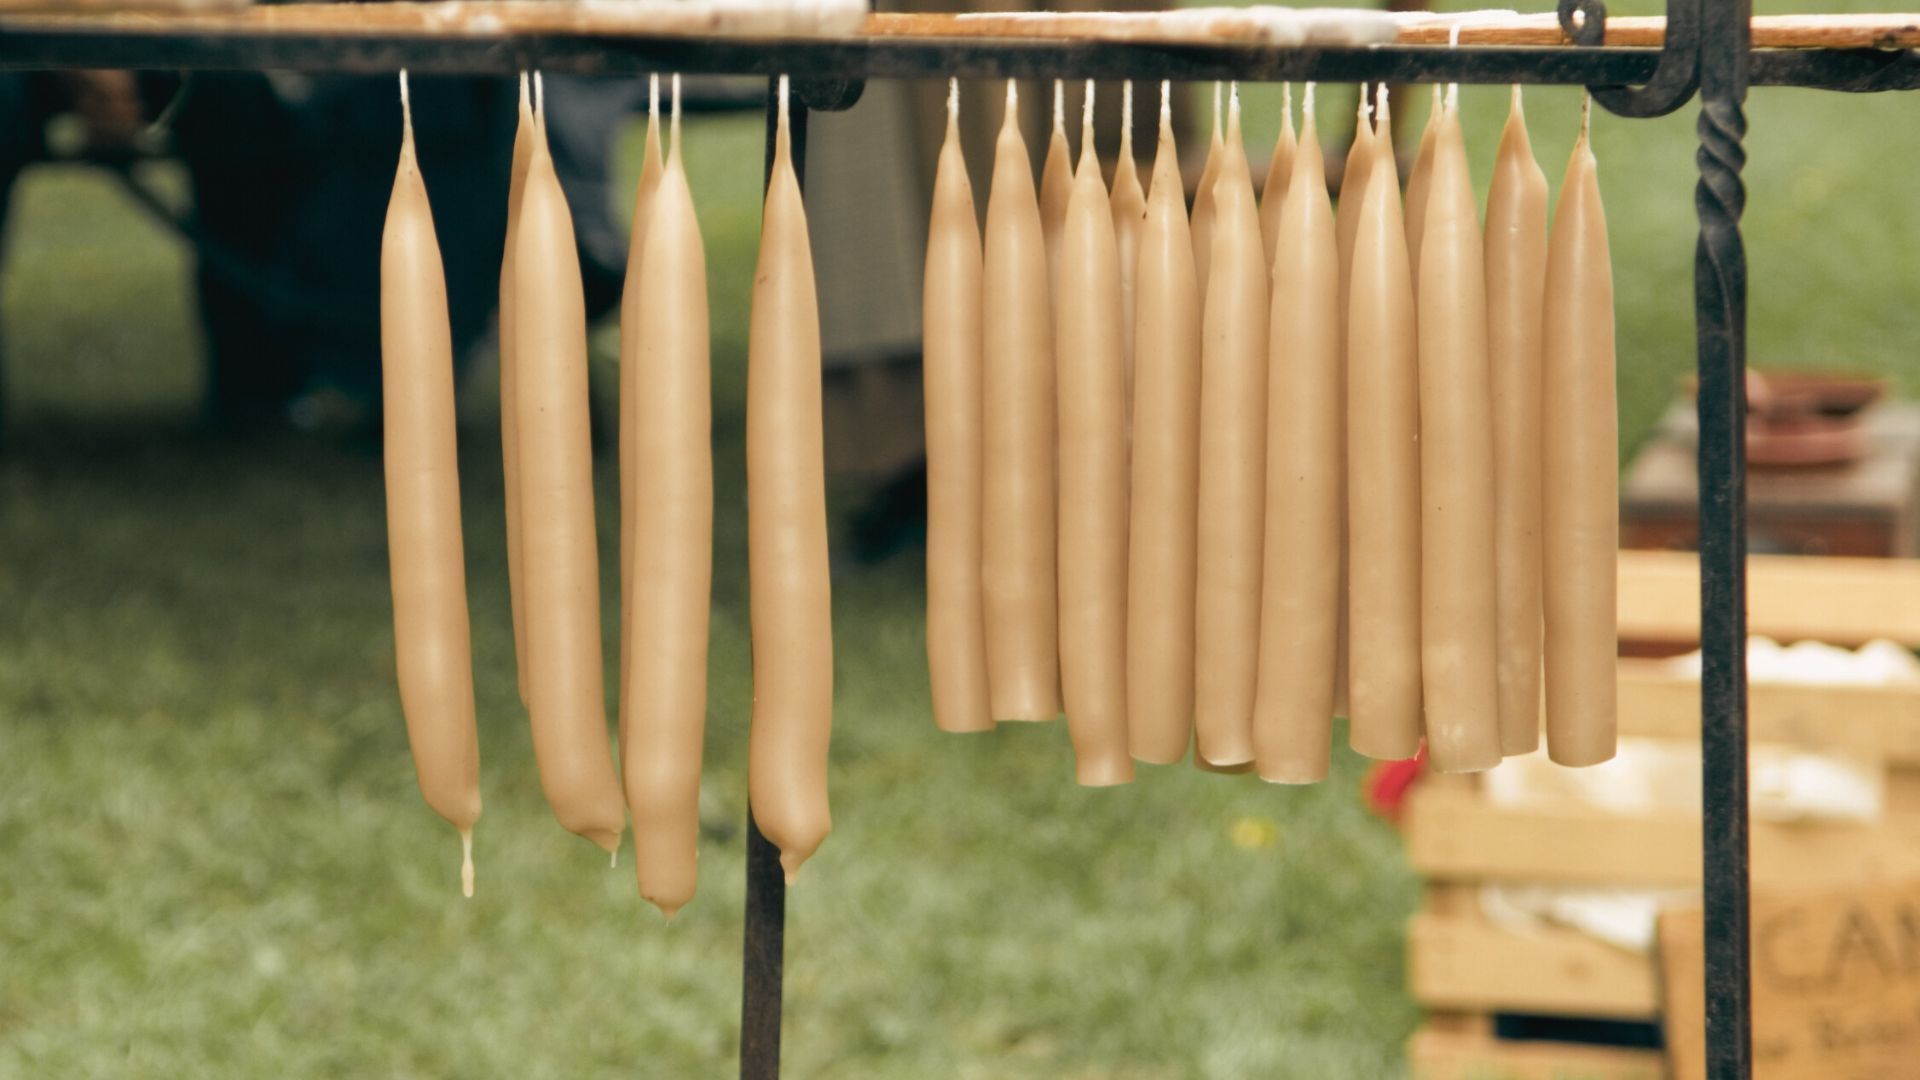
Folk Arts in Season: Hand Dipped Candles

The tradition of crafting Yule Candles to represent the sun has deep roots in ancient winter solstice celebrations, particularly among European pagan, Norse, and Celtic cultures. The Sun was seen as a deity or a divine force, representing life, growth, and warmth. During the darkest time of the year, it was common to honour the Sun's return with rituals, feasts, and symbols of light. It was believed that lighting candles or fires during the solstice would help "nurture" the Sun back to strength, aiding its return to the sky. Crafting a candle can be seen not only as a way of honouring the ancient traditions, but also as a means of bringing light into the home during the darkest days of winter.
Crafting a Hand-Dipped Candle
Making a small dipped candle is a fun and simple craft project.
Materials Needed:
- Wax - choose beeswax or soy wax, for a clean and eco-friendly burn.
- Candle wicks - pre-waxed wicks are ideal
- Pencil or skewer - to tie the wick onto for dipping
- A pot or double boiler - for melting wax
- A wide mouth tall mason jar - for dipping
- A surface to drip the candle - like wax paper or a tray
- Scissors - to trim the wick
Instructions:
- Prepare Your Workspace:
- Lay down newspaper or wax paper to catch any drips or spills.
- Set up your candle-making area, ensuring you have plenty of space and ventilation. - Cut the Wick:
- Cut your wick to a length about 4-5 inches longer than the final size you want your candle to be. You'll need extra wick length to hold onto while dipping. - Melt the Wax:
- Cut your wax into small chunks to help it melt faster.
- Use a double boiler to melt the wax (or a heatproof pot in a larger pot of simmering water). Stir occasionally to help it melt evenly. - Start Dipping:
- Once the wax is melted, transfer the melted wax to the tall mason jar. Holding the excess length of wick, dip the wick into the wax. Slowly lower the wick deeper into the liquid wax and hold it there for a couple of seconds.
- Pull the wick out and let any excess wax drip off. Let the wax harden slightly (it should set quickly, depending on your wax type).
- Repeat the dipping process, adding layer after layer of wax. Each dip will build the candle’s thickness.
- Let the candle cool and harden for a few seconds between dips. Keep dipping until you reach the desired thickness (usually 10-20 layers). - Shape the Candle:
- After enough layers, you can shape the candle by gently rolling it between your hands or adjusting it as it cools. If the candle becomes too large to dip easily, you can trim it back. - Trim the Wick:
- Once you're happy with the size and shape, trim the wick to about 1 inch above the top of the candle. - Let the Candle Cool Completely:
- Allow your dipped candle to cool and harden fully before handling it. This can take 30 minutes to an hour. - Enjoy:
- Your small dipped candle is ready to use!
Tips:
- If the wax starts to harden in the jar, you can reheat it in the double boiler.
- For a more uniform shape, dip your candle steadily and avoid quick jerky movements.
- If you’re making multiple candles, have a few extra wicks ready for a more efficient process.

